“A Black Hole For Internet Advertisements”
Small inexpensive devices like RaspberryPi 3 and others have become great platforms to build little micro-servers with. The developer group at PiHole have built a framework which uses blacklisting to identify servers on the internet that are used for distributing Advertisements. The framework works by causing the servers to be blocked and then making your internet or app use a little less interrupted from those annoying and sometimes difficult pop-up windows.
Background
Just a quick, high-level, very minimized walkthrough on how the internet works as its helpful to gather details on what PiHole is doing.
When you type the name of a website into your web browser a device on the network converts the NAME to the actual NETWORK address which is its Internet Protocol address or IP address.
To keep you from having to remember and type in 176.32.103.205 to go to Amazon.com, there is a server that is its sole job to keep track of the NAME to IP address listing. This is the function of DNS; Domain Name System. There are many many DNS Servers on the internet and most of the time you connect by default to your Internet Service Provider (ISP) servers.
DNS Server Replacement
The PiHole Server you create on a Raspberry Pi device (or any Linux based system) will use the listings of Advertisement servers to stop/block the connections your home network devices might attempt to connect to effectively canceling the connection.
While I still use an active AdBlocker extension in Chrome I have noticed the number of Ads Blocked in the browser to be less than before. Having the support of the PiHole on your home network also allows you to turn off your Ad Blocker in your browser on some sites that might nag/detect it before allowing you to view the content. This helps give you a layer of ability to still block some/most ad content (via PiHole) while turning off your Ad Blocker for a short period of time.
Installation & Configuration
While I am NOT writing a tutorial on how you install from scratch your Raspberry Pi and the OS and then the PiHole – those are available at their respective sites – I do want to high-level the steps you need to do.
- Raspberry Pi 3 with MicroSD Card loaded with latest RasPi OS from the RasPi site
- Power up with a network cable connected to your network
- Run RasPi terminal commands to update packages and upgrade OS if needed
- Install PiHole which is running a command from the PiHole website in the Raspberry Pi Terminal
- Respond the prompts, set a specific and STATIC IP address when prompted
- I chose something slower in the network IP address pool, I might suggest 192.168.1.3 (your router probably is 192.168.1.1)
- Write down the password and reboot when you’re told to
- OPTIONAL – Relocate the Raspberry Pi to a more specific place like where your home router and ISP modem powered and connected (reconnect, plug-in)
- Finally, on the home router, you will need to login and make some changes to the configuration;
- Locate the configuration item that referenced DNS Servers to be provided to the network devices – this might be in the DHCP Configuration screen.
- Sometimes, by default, the ROUTER will use the DNS servers given to it from the ISP settings and it will then tell the clients, to all send DNS requests to the router (typically 192.168.1.1) which if correct you might see 192.168.1.1 in the DNS Settings, as an option, in the DHCP PAge.
- CHANGE the DNS Server to the PiHole IP Address you chose (I recommended something like 192.168.1.3) instead of the DNS Servers listed in the DHCP settings
- Of course, your mileage may vary, your installation, configuration or otherwise methods might be incredibly unique and these steps aren’t helpful to you-you should check in on the PiHole forums or Reddit to see if anyone can help once you get your understanding of the network outlined and explained in a forum, there are sure to be helpful people there…
Information and Details
As a theme builds in the last few journal entries which have been the idea of awareness. The insight provided by the graphs and charts and details provided by the PiHole system should absolutely not be overlooked. It is a reference to every name request for a connection to the internet from your internal network. As many of us have a few different devices from phones, to tablets to a laptop or a desktop or both, many of these devices are on your network and they’re all talking to the internet at some point or another.
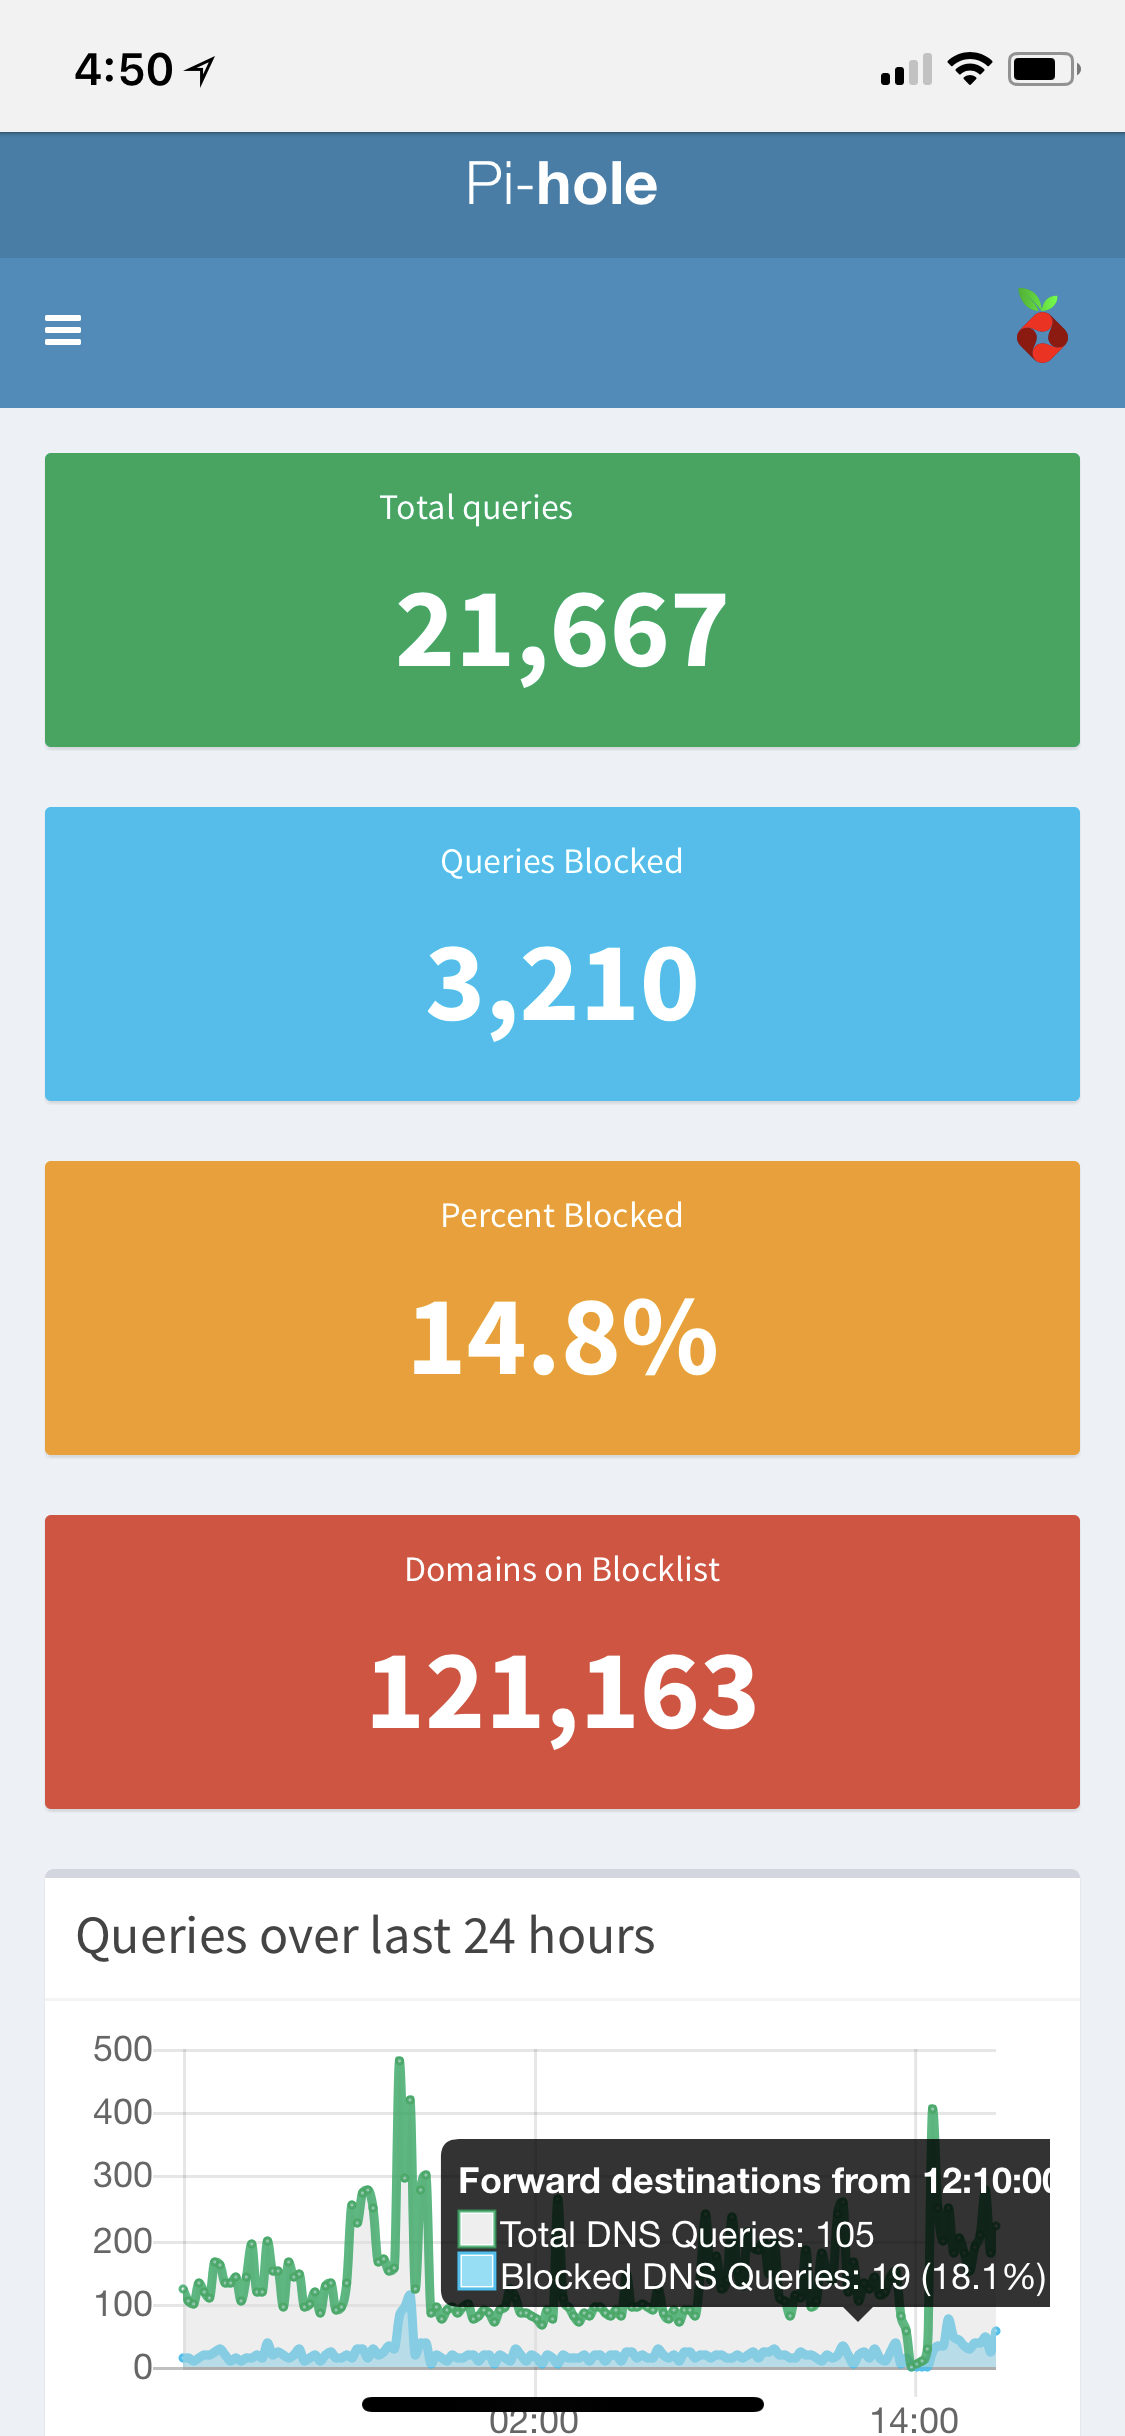
 In order to retain some privacy around what is happening on my network – I’ve provided some general screenshots from the admin interface of the PiHole Device Center.
These dashboards bring out the graphical representation of the requests from the clients and some other items like the current block list total and a percentage of all requests the devices on your network send out. There are other screens where you can get client identifiable items so that you can see if a specific device is having increased connections which could indicate an issue.
Final Thoughts
The PiHole Server in the Home/Office has provided a service that is beyond the dead-ending of Advertisements in browsers and in-app games of the iPods/iPads in the house. It has provided deep insights into the number of DNS requests the network makes and to where. It has blocked a number of interesting connections attempted to both Advertisements hosting sites as well as the Apple, Microsoft, and Linux operating systems telemetry sites.
This type of information gathering is just another level of awareness, an additional data set for knowledge and allows details to be presented to act on. That might be to check on a specific client if it is too chatty or communicates too often or maybe continues to make attempted connections to a site that is blocked.
The PiHole Server started just as an experiment, however, it’s data has proven useful and I will begin adding additional type of devices for load balancing and monitoring as well as attempting to build a “safe” internet experience which will filter out sites that are inappropriate for kids. — More on that in another blog post.